Product Manual
Auto Mouse 1.0 User Guide
Auto Mouse is a software product to help computer users reduce the amount of hand-strain associated with operating a computer mouse. It is designed to prevent and recover from computer-related RSI, and as tool for graphic artists and CAD users who need higher accuracy with complex mouse actions (such as drawing on a canvas).
Introduction
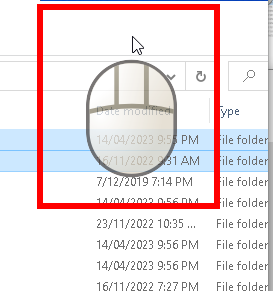
Auto Mouse is a program designed to relieve the strain associated with excessive use of a computer mouse. It does this by allowing the user to move and click the mouse using the keyboard in a variety of ways (shown below). The main feature of Auto Mouse is the “Screen Mouse”. The Screen Mouse is a virtual mouse that hovers just below the mouse cursor as you move it around your display.
When the Screen Mouse is visible it allows you to move and click your mouse using the keyboard. By default, the keys are
-
1key will click the left-button -
2key will click the middle-button -
3key will click the right-button. -
Left,Up,Down,Rightarrow keys to move the Screen mouse
The modes which Auto Mouse operates in are the following:
Mode 1: Automatically show and hide the Screen Mouse
In this mode, the Screen Mouse appears automatically when you begin to move the mouse. After you finished moving the mouse it will disappear. During the period that the Screen Mouse is visible, you can click the mouse using the configured button keys and you can click as much as you want. This is the default and recommended mode for users as it is the most powerful and less obtrusive way to use your mouse.
Mode 2: Make a click when the mouse stops moving
In this mode the Screen Mouse does not appear at all but a click is issued at the point where the cursor stops moving. The cursor needs to move a minimum distance before a click is issued.
Mode 3: Manually show and hide the Screen Mouse
In this mode, the Screen Mouse is manually shown and hidden by the user by using a key. Once the Screen Mouse is visible, the user can then click the mouse using the keyboard keys (just as in mode 1). The user will then manually de-activate the Screen Mouse to restore the keys. This mode is useful for Graphic Artists, or CAD-related applications to allow more accuracy in drawing mouse operations.
Settings
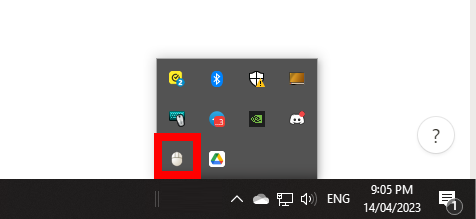
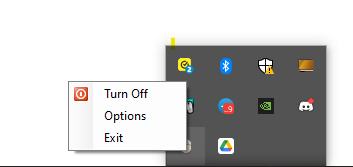
To access the Settings, right-click on the Auto Mouse icon found in the Task Bar Notification Area and select Settings. Alternatively, you can just left-click on the icon.
To close the Auto Mouse application completely, right-click and select Exit.
General Settings
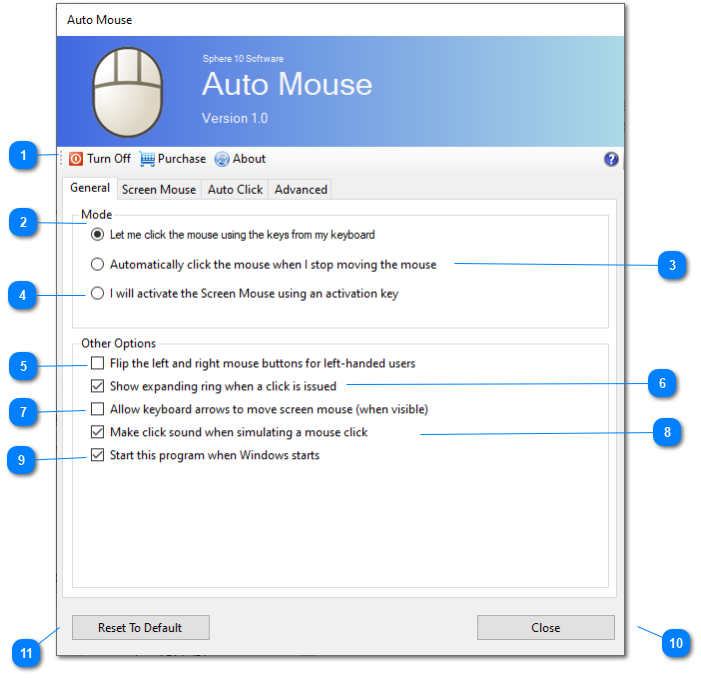
[1] Toggle On/Off

This will toggle Auto Mouse on or off. When on, the Auto Mouse will function with the selected mode. When off, Auto Mouse sits in the background and does nothing. To close the application entirely, the user needs to right-click and select Exit on the notification area icon.
[2] Screen Mouse Mode

In this mode, the Screen Mouse appears automatically after you move the cursor a certain distance. The Screen Mouse then disappears after you stop moving your mouse for a certain period of time. During the period that the Screen Mouse is visible, you can click the mouse using the configured button keys and move the mouse using the arrow keys (if setting is enabled). During the period the Screen Mouse is visible you can click as much as you want. This is the default and recommended mode for users as it is the most powerful and less obtrusive way to use your mouse.
[3] Auto Click Mode

In this mode the Screen Mouse does not appear at all but a click is issued at the point where the cursor stops moving. In order for this to work the cursor first needs to travel a distance beyond the discard zone.
[4] Manual Mode

In this mode, the Screen Mouse is manually shown and hidden by the user by using a key. Once the Screen Mouse is visible, the user can then click the mouse using the keyboard keys (just as in mode 1). The user will then manually de-activate the Screen Mouse to restore the keys.
[5] Flip Mouse Buttons

This feature flips the left and right mouse buttons to assist left-handed users use right-handed mice (or vice-versa).
[6] Expanding Rings

When selected, an expanding ring will appear centered on where a click was simulated.
[7] Keyboard Keys

This will allow the user to control the mouse cursor using the keyboard keys.
[8] Click Sounds

This option will make a click sound whenever a mouse button is clicked down or up via the Screen Mouse.
[9] Auto Start

If this option is selected, this will make the application load automatically when Windows stars.
[10] Close Button

This will minimize the application into the notification area.
[11] Factory Settings

This option will restore all settings back to their default values determined by Sphere 10 Software.
Screen Mouse Settings
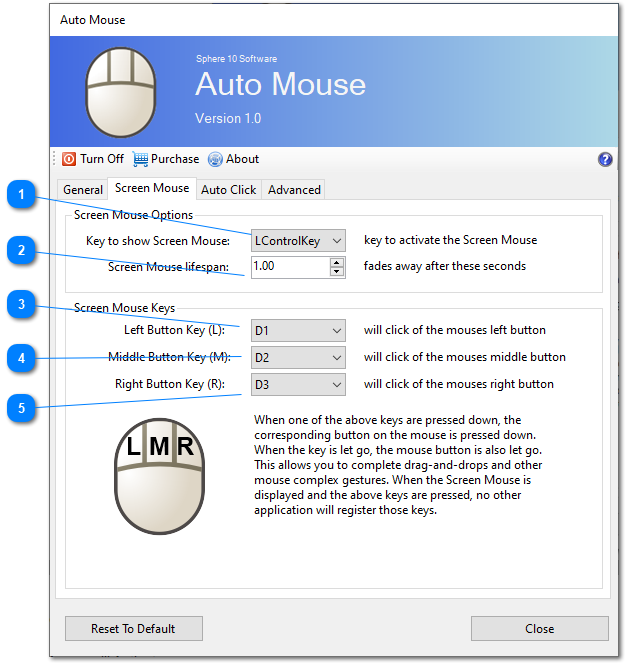
[1] Activation Key

In Manual mode, when this key is pressed the Screen Mouse will Activate.
[2] Lifespan

In Screen Mouse mode, this is the duration which the Screen Mouse remains visible when the mouse stops moving. After that duration, the screen mouse will fade away.
[3] Left Button Key

This key will simulate the left button of the mouse.
When this key is pressed down, the left mouse button is pressed down.
When this key is released, the left mouse button is released.
[4] Middle Button Key

This key will simulate the middle button of the mouse.
When this key is pressed down, the middle mouse button is pressed down.
When this key is released, the middle mouse button is released.
[5] Right Button Key

This key will simulate the right button of the mouse.
When this key is pressed down, the right mouse button is pressed down.
When this key is released, the right mouse button is released.
Auto Click Settings
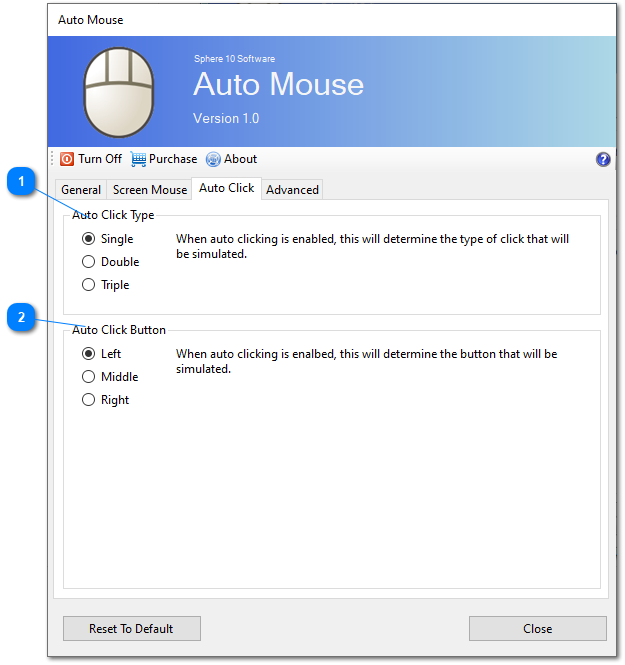
[1] Auto Click Type
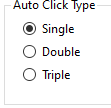
When the "Automatically Click the mouse" mode is activated, this setting defines the type of click that will be made. Note that a click is defined is a mouse down and a mouse up event, and the timings between these are configured in the "Advanced" tab.
[2] Auto Click Button
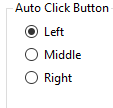
When the "Automatically Click the mouse" mode is activated, this setting defines the mouse button which will be made.
Advanced Settings
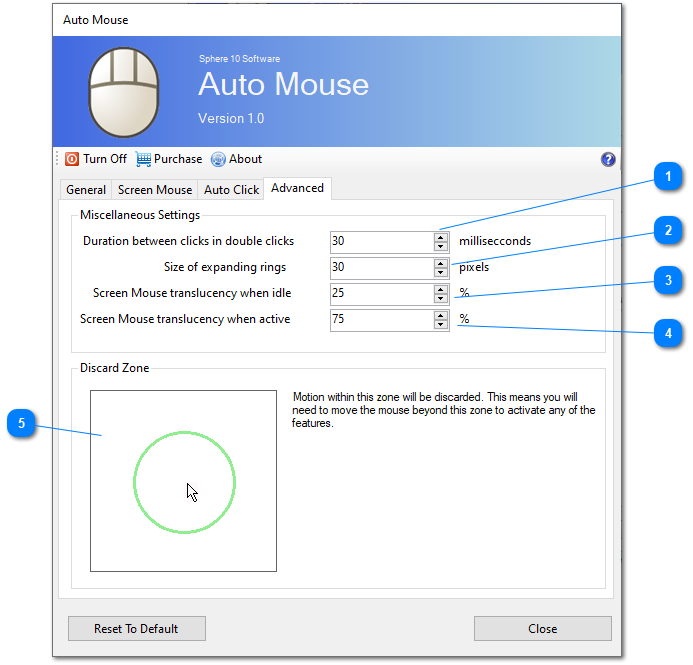
[1] Inter-Click Duration

When Auto Click is enabled, this setting determines the interval between clicks when simulating a double or triple click.
[2] Expanding Ring Size

This setting determines, in pixels, the radius of the expanding rings that are drawn around the click point when simulating a click event.
[3] Idle Translucency

When the Screen Mouse is activated, as a result of mouse motion, this setting determines the translucency
of the screen mouse.
[4] Active Translucency

When the user uses the Screen Mouse (via the keyboard), this is setting determines the translucency of the mouse as it becomes active.
[5] Discard Zone
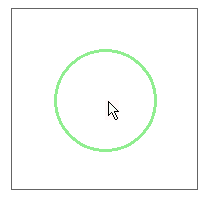
The Discard Zone defines the minimum distance the mouse must move before the Screen Mouse is activated (or an Auto Click is issued). Any motion that does not traverse a distance greater than this radius will not trigger an event for Auto Mouse. For small screens this circle should be made smaller whereas for larger screens it should be made larger. It is recommended that users configure this setting to maximize their user experience.