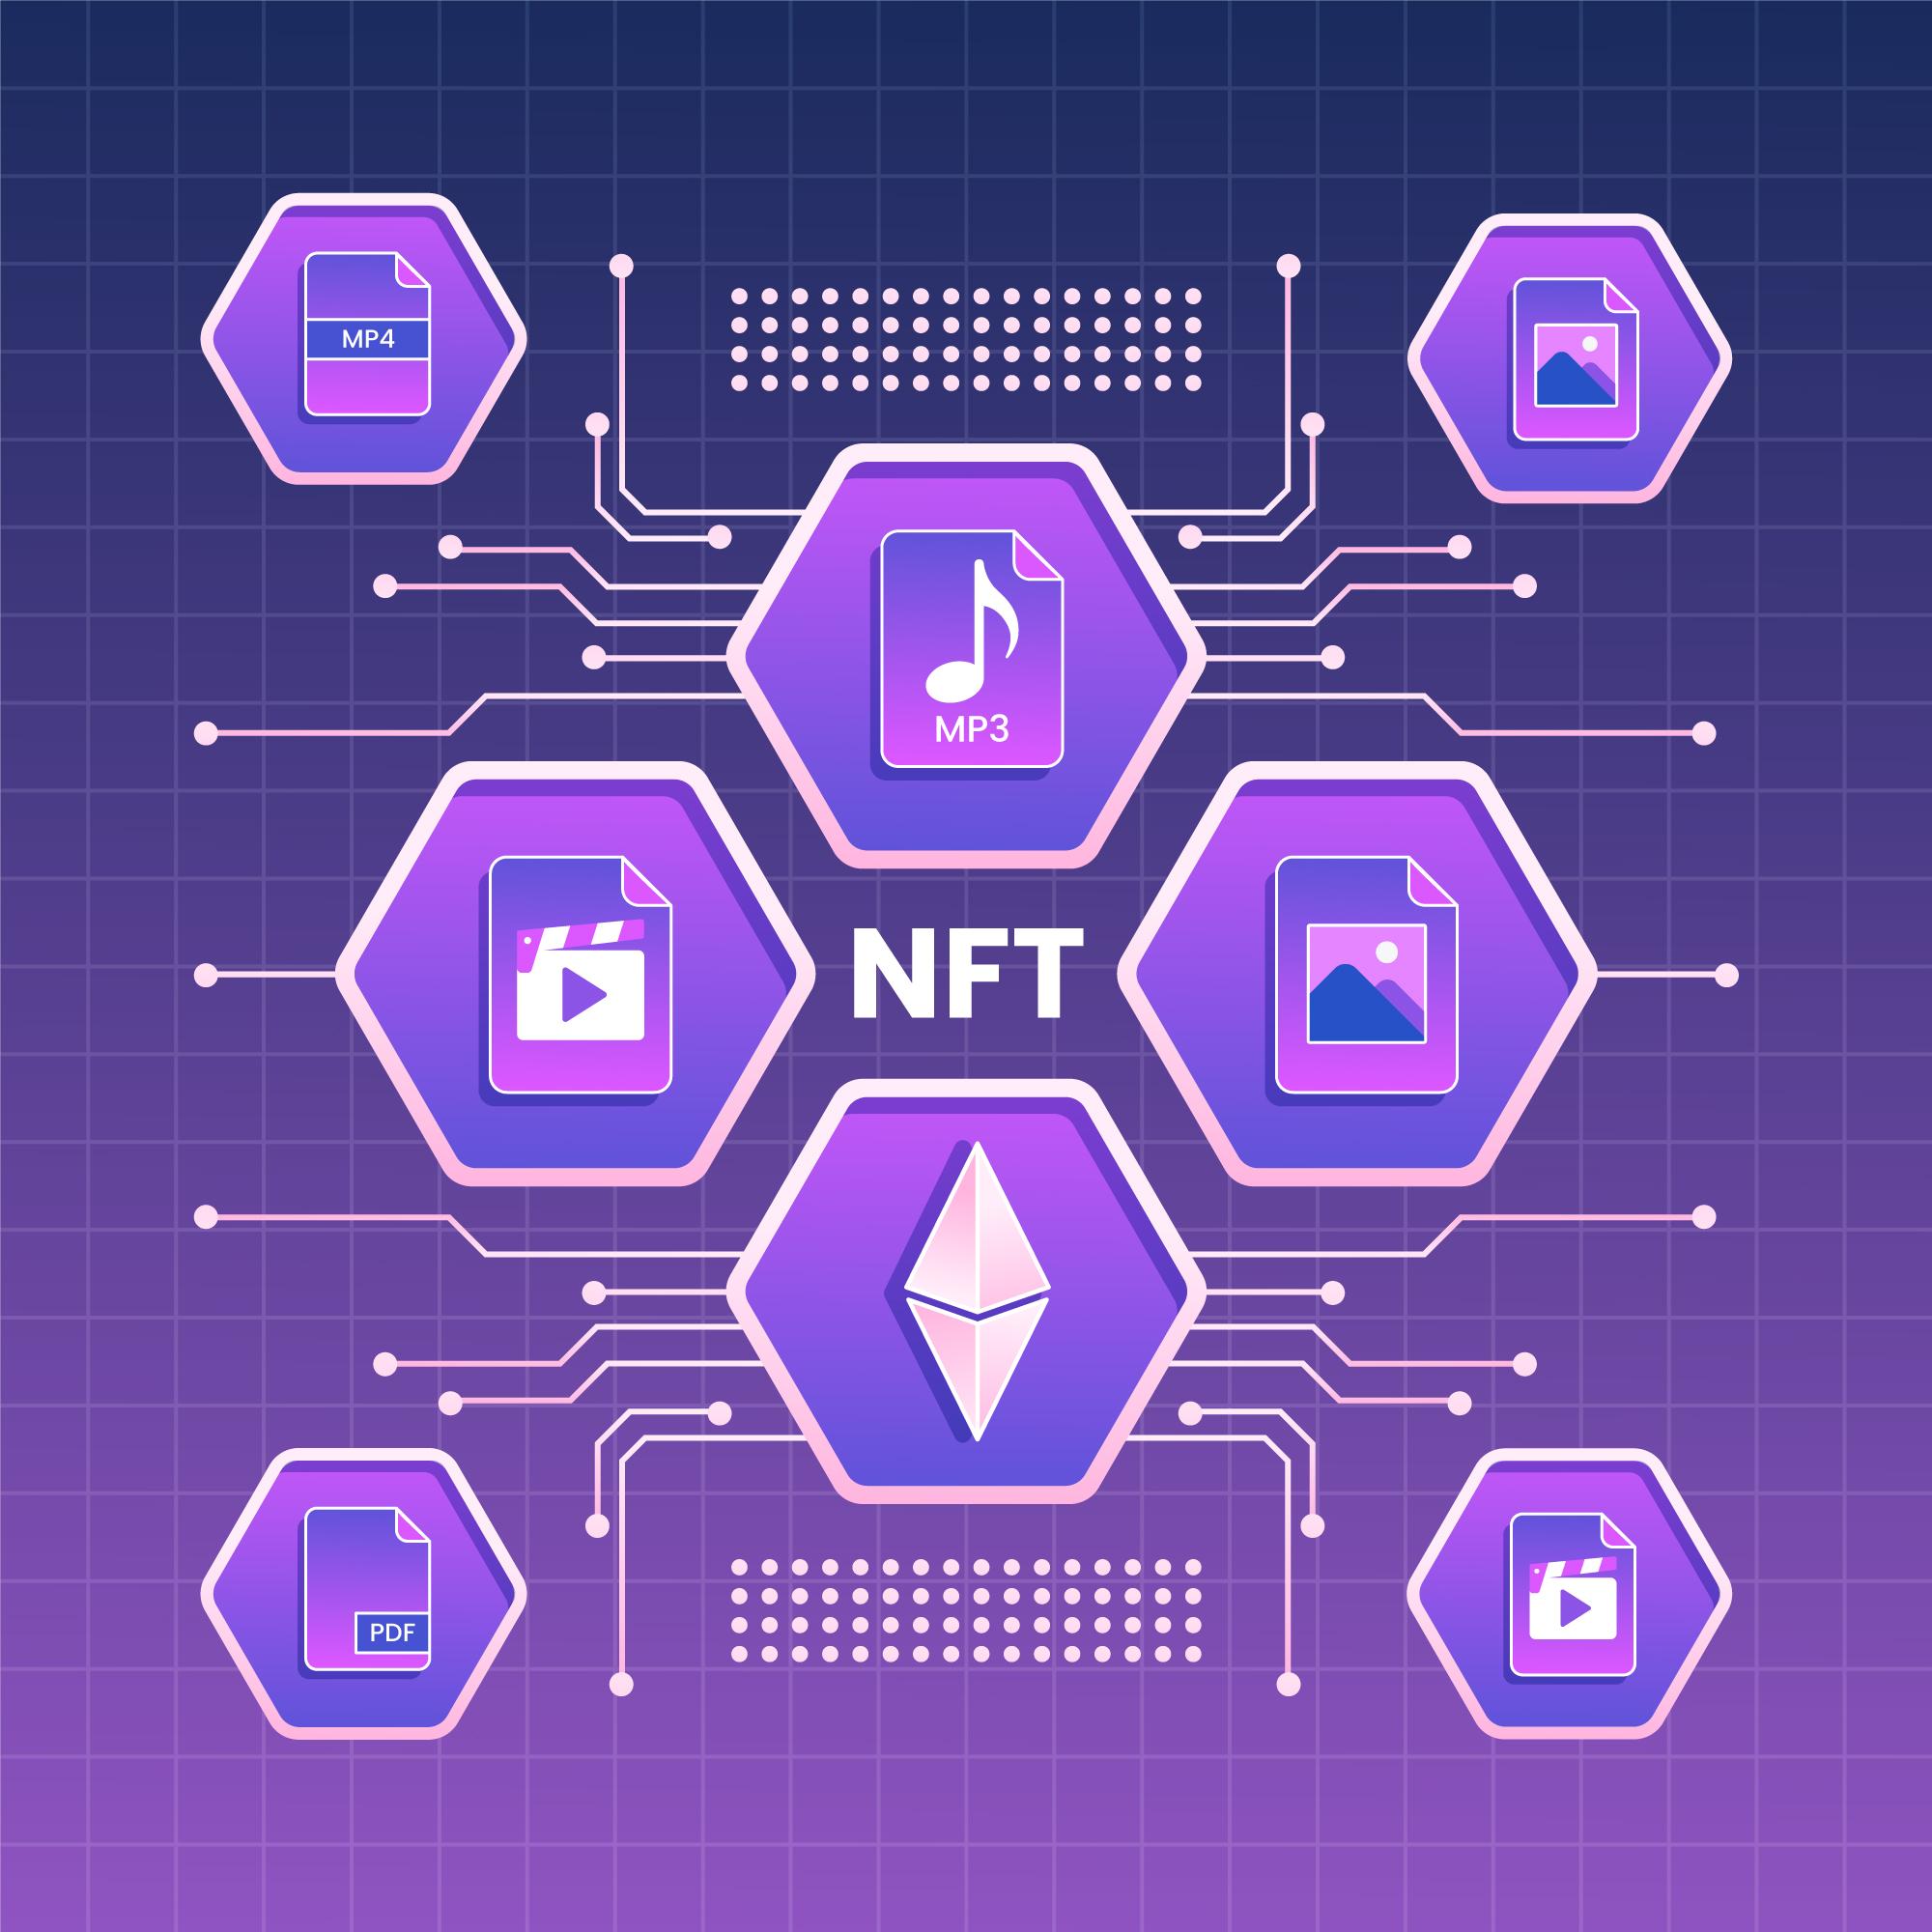
A Comprehensive Guide to Creating Your Own NFT Collection
The world of non-fungible tokens (NFTs) has exploded in popularity, with creators and collectors alike diving into this new digital frontier. NFTs represent unique digital assets, each with its own distinct value and characteristics. If you're looking to create your own NFT collection, this step-by-step guide will walk you through the process, from conceptualization to launch.
Step 1: Conceptualize Your Collection
The first step in creating an NFT collection is to develop a clear concept. Think about the theme, target audience, and potential use cases for your NFTs. Research popular collections to understand what resonates with collectors and what sets successful collections apart from the rest.
Monetization Models
NFTs have opened up a range of monetization opportunities for creators, collectors, and investors. Here are some ways to monetize NFTs:
-
Direct sales: Creators can sell their NFTs directly to buyers on various marketplaces, such as OpenSea, Rarible, or Foundation, or through their own custom marketplace or website.
-
Auctions: Creators can auction off their NFTs to the highest bidder, either on established platforms like Nifty Gateway or through their own auction systems.
-
Royalties: Creators can earn ongoing royalties by setting a percentage fee on secondary sales of their NFTs. Many NFT platforms and smart contracts support this feature.
-
Limited editions: Creators can release limited edition NFTs, driving up demand and value due to their scarcity.
-
Bundling: Creators can bundle multiple NFTs together as a package deal, offering added value to buyers and potentially increasing the overall sale price.
-
Collaborations: Partnering with other creators or well-known brands can boost the value of NFTs and attract a wider audience.
-
Tokenization of physical assets: NFTs can be used to represent ownership of physical assets, like art, real estate, or collectibles, enabling fractional ownership and easier trading.
-
Access tokens: NFTs can be used as access tokens for exclusive content, events, or services, providing a unique monetization model for creators.
-
Gaming and virtual worlds: In-game assets, such as items, characters, or virtual land, can be minted as NFTs and sold to players. Additionally, revenue can be generated through in-game economies where players buy, sell, and trade NFTs.
-
Staking and lending: Some platforms and projects allow NFT holders to stake or lend their NFTs, earning passive income through rewards or interest.
-
Flipping and investing: Investors and collectors can buy NFTs with the intent to resell them at a higher price, taking advantage of market trends and demand.
These are just a few of the ways to monetize NFTs, and as the space continues to evolve, new opportunities and creative models will likely emerge.
Step 2: Design the Artwork
Once you have a solid concept, create unique and visually appealing artwork that aligns with your collection's theme. This can include digital illustrations, 3D models, animations, or any other form of digital art. The quality of your artwork plays a crucial role in the success of your NFT collection.
Step 3: Develop Metadata and Attributes
To differentiate your NFTs, define the properties and attributes that make each one unique. Metadata can include information like rarity, traits, descriptions, and other characteristics. This information adds value to your NFTs and makes them more appealing to collectors.
Step 4: Choose a Blockchain Platform
Select a blockchain platform that supports NFTs. Consider factors like fees, community support, and ease of use when choosing a platform for your collection. Here is a list of some popular blockchains that support NFTs:
-
Ethereum (ERC-721 and ERC-1155 standards)
-
Binance Smart Chain (BEP-721 and BEP-1155 standards)
-
Solana (SPL standard)
-
Tezos (FA2 standard)
-
Polygon (previously Matic Network; ERC-721 and ERC-1155 standards)
-
Polkadot (via its parachains and smart contracts)
-
EOS (dGoods standard)
-
TRON (TRC-721 standard)
-
Avalanche (AVAX, via its smart contracts)
-
Algorand (ASA standard)
-
Cardano (coming with its smart contracts functionality)
-
Flow by Dapper Labs
-
ImmutableX
Step 5: Develop Smart Contracts
Smart contracts are the backbone of NFT collections, managing creation, ownership, and trading. There are several types of smart contracts involved in NFTs, some of which are specific to certain blockchain platforms. Here's a list of some common smart contract types:
-
NFT standards: These smart contracts define the standard interface and basic functionality of NFTs for a particular blockchain. Examples include ERC-721 and ERC-1155 on Ethereum, BEP-721 and BEP-1155 on Binance Smart Chain, and SPL on Solana.
-
NFT minting contracts: These smart contracts are responsible for creating new NFTs and assigning them unique token IDs. They typically include functions for specifying the associated metadata, such as name, description, and rarity.
-
NFT marketplace contracts: These smart contracts manage the buying, selling, and trading of NFTs on a particular platform or marketplace. They often include features like bidding, auctions, and royalty payments for secondary sales.
-
NFT fractionalization contracts: These smart contracts enable the splitting of NFTs into smaller, fungible tokens, allowing for fractional ownership and trading. This can be useful for high-value NFTs or for creating shared ownership structures.
-
NFT staking contracts: Some projects allow users to stake their NFTs to earn rewards, such as tokens or other NFTs. Staking contracts manage the deposit, withdrawal, and reward distribution for these staked NFTs.
-
NFT gaming contracts: In the context of blockchain-based games, smart contracts manage the creation, ownership, and trading of in-game NFT assets like items, characters, or virtual land.
-
NFT access control contracts: These smart contracts manage access to exclusive content, events, or services based on NFT ownership. They can be used to create unique experiences or gated communities for NFT holders.
-
NFT royalty contracts: These smart contracts manage the distribution of royalties to creators whenever their NFTs are sold on secondary markets. They typically include functions for specifying the royalty percentage and the recipient.
This list provides an overview of the common types of smart contracts involved in NFTs. As the NFT ecosystem continues to grow and evolve, new types of smart contracts may emerge to support novel use cases and applications.
Sphere 10 Software offers expert NFT development services on all blockchains.
Step 6: Mint Your NFTs
Minting is the process of creating a unique digital asset and assigning it a unique token ID on the blockchain. Once your smart contracts are developed and tested, you can mint your NFTs. Be prepared to pay gas fees, depending on the platform you're using.
Minting Process
Minting NFTs involves various tools and processes, depending on the chosen blockchain platform and the level of customization required. Here's a list of some common tools and processes for minting NFTs:
-
Artwork and metadata preparation: Before minting, create the digital artwork and prepare the metadata, such as name, description, rarity, and attributes, in a standardized format (e.g., JSON). The metadata will be associated with the NFT upon minting.
-
Choose a blockchain platform: Select a platform that supports NFTs, such as Ethereum, Binance Smart Chain, Solana, or others. Each platform has its own NFT standards, development tools, and gas fee structures.
-
Wallet setup: Set up a cryptocurrency wallet compatible with your chosen platform. This wallet will be used to pay for gas fees and to store the minted NFTs. Examples include MetaMask for Ethereum, Trust Wallet for Binance Smart Chain, and Phantom for Solana.
-
NFT standard and smart contracts: Familiarize yourself with the NFT standard for your chosen platform (e.g., ERC-721 or ERC-1155 for Ethereum). Develop or utilize existing smart contracts for minting and managing your NFTs. For those without coding experience, platforms like OpenSea, Rarible, or Mintable offer user-friendly interfaces for creating NFTs without writing custom smart contracts.
-
Development tools: Use development tools and libraries specific to your platform, such as Truffle, Hardhat, or Remix for Ethereum, to write, test, and deploy your smart contracts.
-
IPFS or other decentralized storage: To ensure the long-term availability of your NFT artwork and metadata, store them on decentralized platforms like the InterPlanetary File System (IPFS) or Arweave. These platforms provide content-addressed, distributed storage, reducing the risk of content being lost or unavailable.
-
Minting: Interact with your smart contract or use a user-friendly platform to mint your NFTs. This process involves invoking a function in the smart contract to create a unique token ID for your NFT and associating it with your artwork and metadata. Minting typically requires gas fees, which vary depending on the platform and network conditions.
-
Deployment: Deploy your smart contracts to the chosen blockchain network (e.g., mainnet or testnet). Make sure to test your contracts thoroughly on a testnet before deploying them to the mainnet to avoid potential issues or loss of funds.
-
Verification: After deploying your smart contracts, verify the contract source code on block explorers like Etherscan or BscScan. This step makes your contract more transparent and trustworthy for potential buyers.
These tools and processes provide a general overview of minting NFTs. The specific requirements and steps may vary depending on the chosen platform, the complexity of the project, and individual preferences.
Step 7: Set Up a Marketplace
A marketplace is essential for facilitating the buying, selling, and trading of your NFTs. You can list your NFTs on existing marketplaces like OpenSea, Rarible, or Foundation, or create your own custom marketplace.
Listing on existing marketplaces
Listing NFTs on popular marketplaces like OpenSea or Rarible involves several steps. The process may differ slightly between platforms, but the general steps are as follows:
-
Set up a wallet: If you haven't already, set up a compatible cryptocurrency wallet, such as MetaMask, to store your NFTs and interact with the marketplace. Ensure that you have enough Ether (ETH) in your wallet to pay for gas fees.
-
Connect your wallet: Go to the OpenSea or Rarible website and click on the option to connect your wallet. Follow the prompts to establish a connection between your wallet and the marketplace.
-
Create or import your NFT: If you haven't minted your NFT yet, you can create one directly on the platform. Alternatively, if your NFT is already minted, you can import it to the marketplace.
a. To create an NFT on OpenSea or Rarible, navigate to the "Create" or "Mint" section and follow the prompts to upload your digital asset, enter the metadata (name, description, attributes, etc.), and set the number of editions or copies.
b. To import an existing NFT, make sure your NFT is in the wallet you connected to the marketplace. The platform should automatically detect your NFTs and display them in your account.
-
List your NFT for sale: Once your NFT is on the platform, navigate to the NFT's page or your account's inventory section. Click on the option to list the NFT for sale, which may be labeled as "Sell" or "List on the marketplace."
-
Set the sale parameters: Choose the type of sale for your NFT, such as fixed-price, auction, or declining price. Set the sale price in Ether (ETH) or another supported currency, and specify the duration of the sale, if applicable. You can also set royalty percentages for secondary sales, which will give you a portion of future sales revenue.
-
Confirm the listing: Review your sale parameters and click on the option to confirm the listing. You may be prompted to sign a transaction in your connected wallet, and gas fees may be required to complete the listing process.
-
Promote your NFT: Share the link to your NFT listing on social media, forums, or other platforms to attract potential buyers. Engage with your community and leverage marketing strategies to increase visibility and interest in your NFT.
Setting up a custom NFT Marketplace
Setting up a marketplace for your NFTs involves several steps, including planning, development, deployment, and marketing. Here's a step-by-step guide to help you create your own NFT marketplace:
-
Define your marketplace concept: Determine the niche, target audience, and unique selling points of your marketplace. Research existing marketplaces to identify gaps and opportunities to differentiate your platform.
-
Choose a blockchain platform: Select a blockchain platform that supports NFTs, such as Ethereum, Binance Smart Chain, or Solana. Consider factors like fees, community support, and ease of use when choosing a platform for your marketplace.
-
Develop smart contracts: Create the necessary smart contracts to manage the buying, selling, and trading of NFTs on your marketplace. These contracts should include features like auctions, fixed-price sales, and royalty payments for secondary sales.
-
Design the user interface (UI) and user experience (UX): Design an intuitive and visually appealing UI and UX for your marketplace. Prioritize ease of use and navigation to encourage user engagement and transactions.
-
Develop the frontend and backend: Build the frontend and backend of your marketplace using web development frameworks and languages like React, Angular, or Vue.js for frontend development and Node.js, Django, or Ruby on Rails for backend development.
-
Integrate your marketplace with the chosen blockchain platform: Connect your marketplace's frontend and backend with the blockchain platform using tools and libraries specific to that platform, such as Web3.js for Ethereum or Binance Chain JavaScript SDK for Binance Smart Chain.
-
Implement wallet integration: Enable users to connect their cryptocurrency wallets to your marketplace to buy, sell, and trade NFTs. Integrate popular wallets compatible with your chosen blockchain platform, such as MetaMask, Trust Wallet, or Phantom.
-
Add search and filtering functionality: Implement search and filtering features to help users easily find specific NFTs, creators, or collections within your marketplace.
-
Test your marketplace thoroughly: Conduct rigorous testing of your marketplace's functionality, security, and performance. Ensure that all smart contracts, wallet integrations, and other components work correctly and securely.
-
Deploy your marketplace: Once testing is complete, deploy your marketplace to a production environment. Choose a reliable hosting service and ensure proper security measures are in place.
-
Market and promote your marketplace: Develop and execute a marketing strategy to attract users and creators to your platform. Leverage social media, content marketing, influencer partnerships, and other promotional channels to raise awareness and drive traffic.
-
Manage and grow your community: Engage with your user base, gather feedback, and offer support to foster a strong community around your marketplace. A loyal and active community can contribute to the long-term success of your platform.
-
Maintain and update your marketplace: Continuously monitor, maintain, and update your marketplace to ensure it remains secure, functional, and aligned with user needs. Implement new features and improvements based on user feedback and market trends.
Step 8: Market Your NFT Collection
Promotion is crucial for the success of your collection. Use social media, online forums, and influencers to share engaging content about your collection, its story, unique features, and potential use cases. A well-executed marketing campaign can attract collectors and drive up the value of your NFTs.
Step 9: Launch and Sell Your NFTs
When you're ready, release your NFTs to the public and allow collectors to purchase and trade them. Consider various pricing models, such as fixed prices, auctions, or other innovative methods.
Step 10: Manage Your Community
A strong community can make or break the long-term success of your NFT collection. Engage with your audience, share updates, and provide support to foster a loyal following. Building, managing, and nurturing a strong community around your NFTs is essential for long-term success. Here are some steps to help you create and maintain a vibrant community:
-
Define your target audience: Identify the niche, demographics, and interests of your target audience. This will help you tailor your communication and marketing strategies to resonate with them effectively.
-
Choose the right communication channels: Select appropriate platforms for your community, such as Discord, Telegram, Twitter, Instagram, or Facebook. Each platform has its strengths and weaknesses, so choose the ones that best align with your target audience and communication style.
-
Develop a consistent brand and voice: Establish a consistent brand identity and tone of voice for your NFT project. This will help create a cohesive image and foster a sense of familiarity and trust among your community members.
-
Create valuable content: Share informative, engaging, and entertaining content related to your NFTs and the broader industry. Use a mix of formats, such as blog posts, videos, podcasts, and social media updates, to cater to different preferences.
-
Interact and engage with your community: Regularly participate in discussions and answer questions within your community channels. Be transparent, authentic, and approachable to build trust and rapport with your audience.
-
Encourage user-generated content: Inspire your community members to create their own content, such as fan art, memes, or tutorials, related to your NFTs. This can increase engagement and foster a sense of ownership among your audience.
-
Organize events and activities: Host virtual events, contests, or giveaways to encourage participation and engagement within your community. This can also help attract new members and create buzz around your NFT project.
-
Collaborate with influencers and partners: Partner with influencers, artists, or other NFT projects to expand your reach and tap into new audiences. Collaborations can help boost your project's credibility and visibility.
-
Provide exceptional support: Offer prompt and helpful support to your community members when they have questions or face issues. This will show that you care about their experience and are committed to their satisfaction.
-
Solicit feedback and iterate: Regularly ask your community for feedback and suggestions on your NFT project, marketplace, or events. Use their input to make improvements and demonstrate that you value their opinions.
-
Recognize and reward loyal members: Acknowledge and reward the most active and supportive members of your community. This can include shoutouts, exclusive access to content or events, or even special edition NFTs.
-
Maintain a long-term focus: Building a strong community takes time and effort. Stay patient and committed to nurturing relationships and delivering value to your audience consistently.
By following these steps, you can create a thriving community around your NFT project, driving engagement, loyalty, and ultimately, success.
Conclusion
Creating an NFT collection requires careful planning, creativity, and technical know-how. By following these steps and staying up-to-date with legal and regulatory requirements, you'll be well on your way to launching a successful NFT collection.